There are several ways to manage your cloud:
- traditional method – via command line CLI OpenStack
- management via dashboard provided by Opestack - Horizon: this is a graphical interface that includes a maximum set of functions for managing the cloud, but as a result, it has become quite cumbersome in use
- Public Cloud control panel: we have maximally simplified the use of our services and as a result we have developed our own control panel, where instances can be created almost instantly.
To create an instance in our Control panel you need to perform a few simple steps.
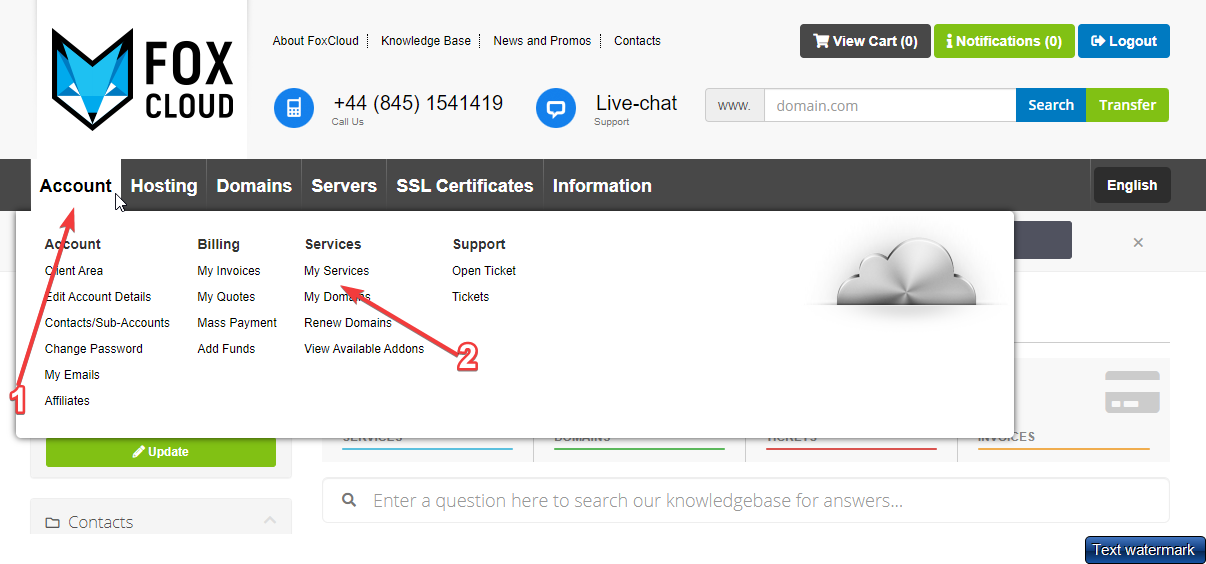
- Pause the mouse pointer on "Аccount" from the menu (step 1), then mouse over "Products/services" (step2) .
- Select "Public Cloud" service.
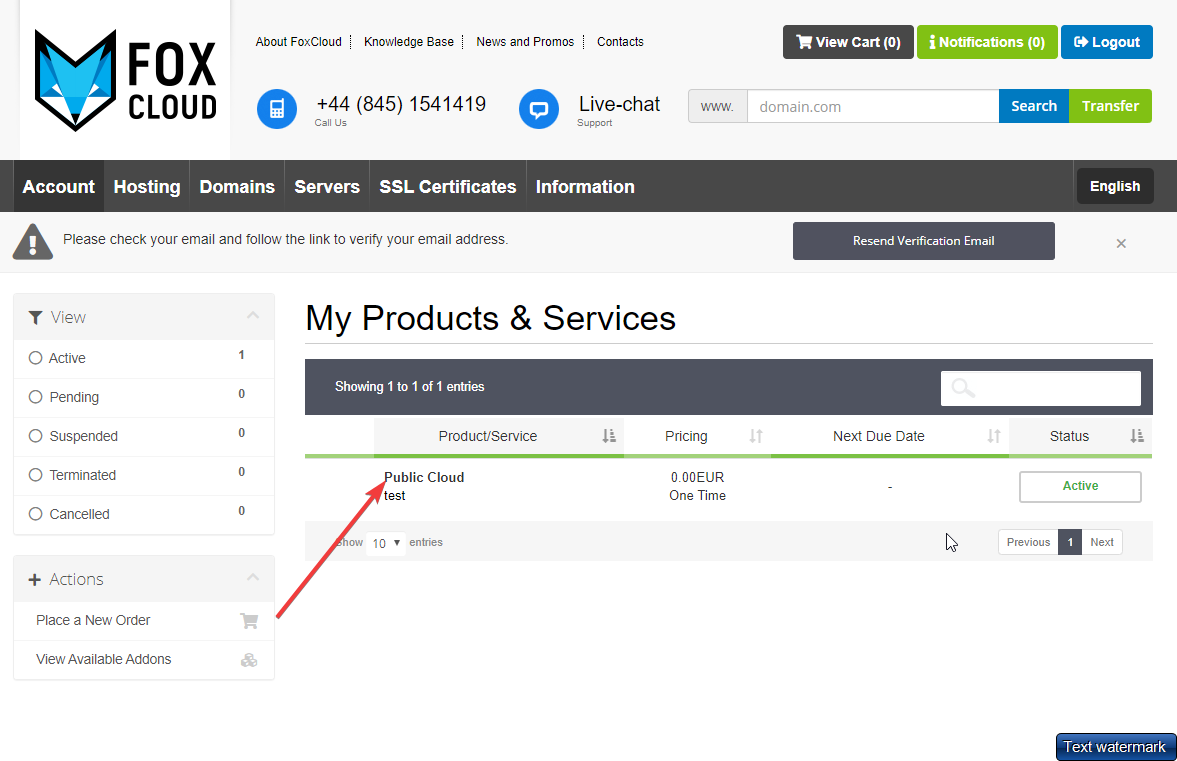
- Enter the control panel of this service and select the "Management" tab.
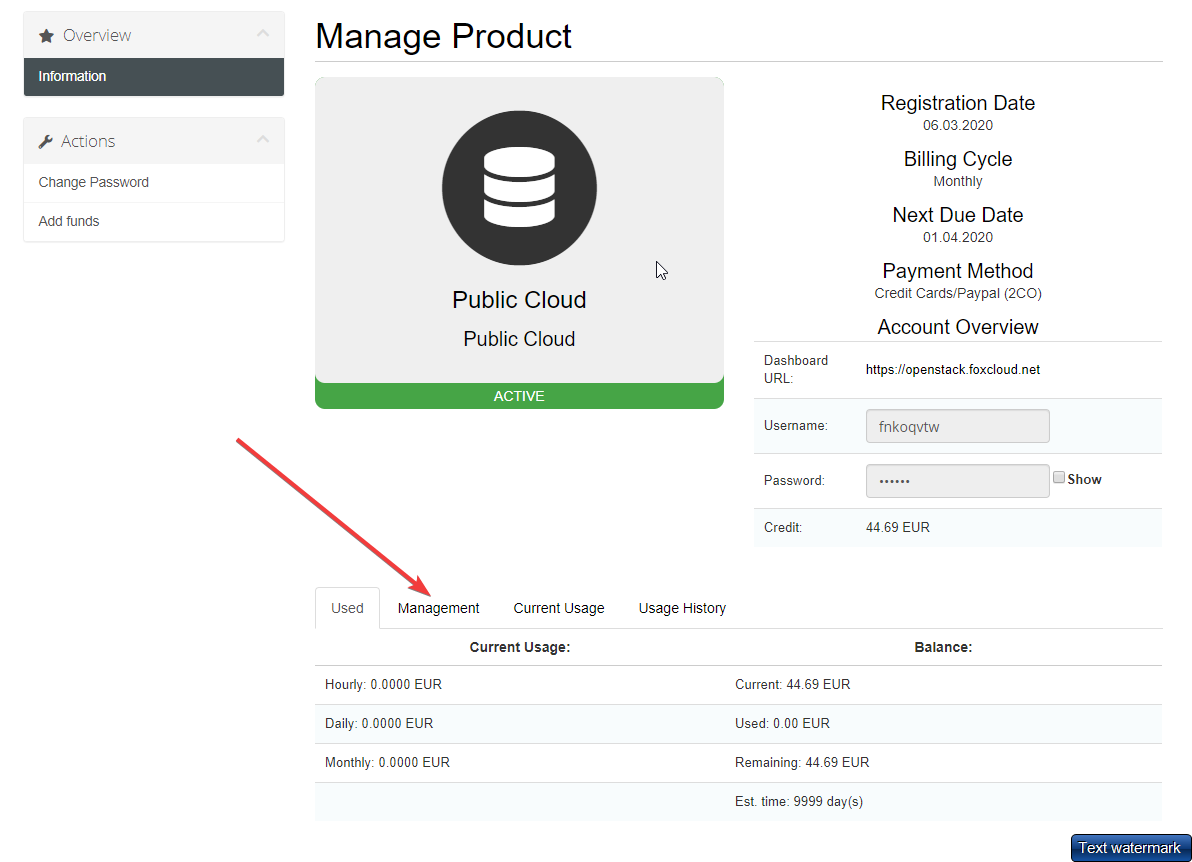
Click on the "Сreate" button to open the form for creating a new virtual server.
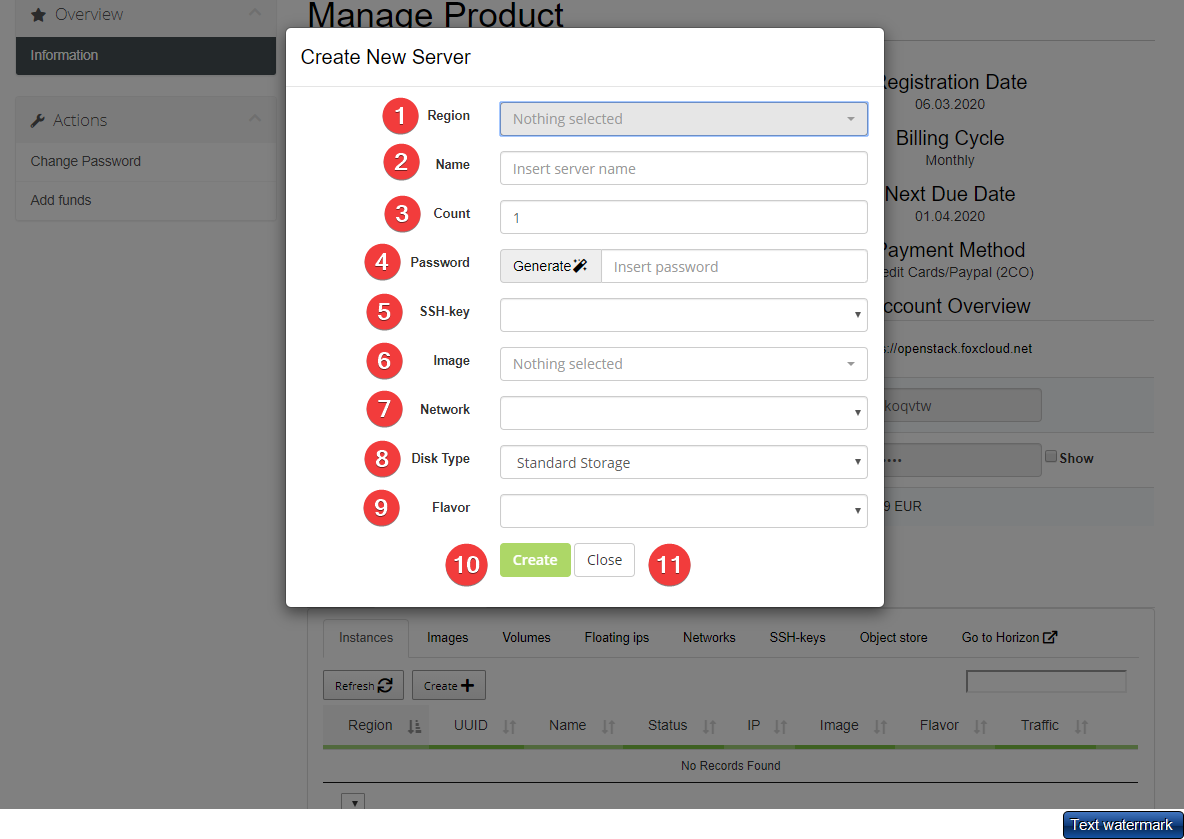
- All parameters required to create an instance will be listed in the form that opens.
1 - select the region you need. In Public Cloud you can build your infrastructure in the Netherlands, USA, Russia or Moldova. The regions are isolated from each other and due to this our system has an additional fault tolerance;
2 - enter the name of the new virtual server;
3 - indicate the number of servers
4 - enter your own password or generate a new one to connect to the server;
5 - do not fill in the "SSH key" field , let it with the value "Do not use" (there are 2 ways to connect to the server: by using the username and password or by using the SSH-key, in this example there will be used the username and password);
6 - in the "Image" field you need to select the operating system for the server. In our case it is "Ubuntu 16.04". Except the use of pre-installed images, users may create and upload their own images of operating systems;
7 - in the "Network" field you should determine whether the server will have direct access to the Internet (external _network) or not (internal_network). Select "external_network";
8 - in the "Disk Type" field select "StandardStorage" (normal disk speed) or "IOPSOptimizedStorage" (high disk speed);
9 - in the "Template" field choose the future server configuration: select the value "basic1.xs". To simplify the work, our panel provides a large number of standard templates. If a custom configuration is required, feel free to contact our support team;
10 - click on the "Сreate" button and the process of creating a virtual server will start;
11 - "Close " button will cancel the server creation.
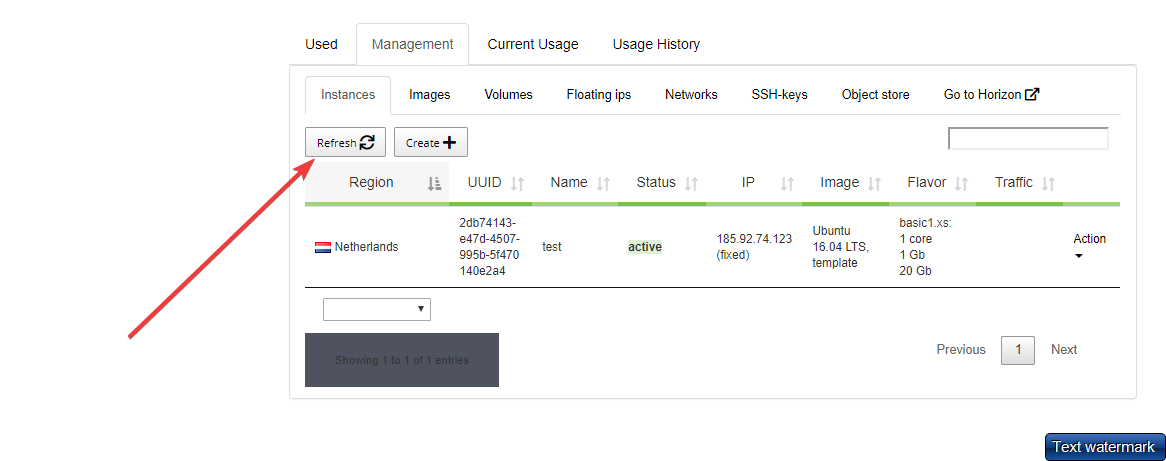
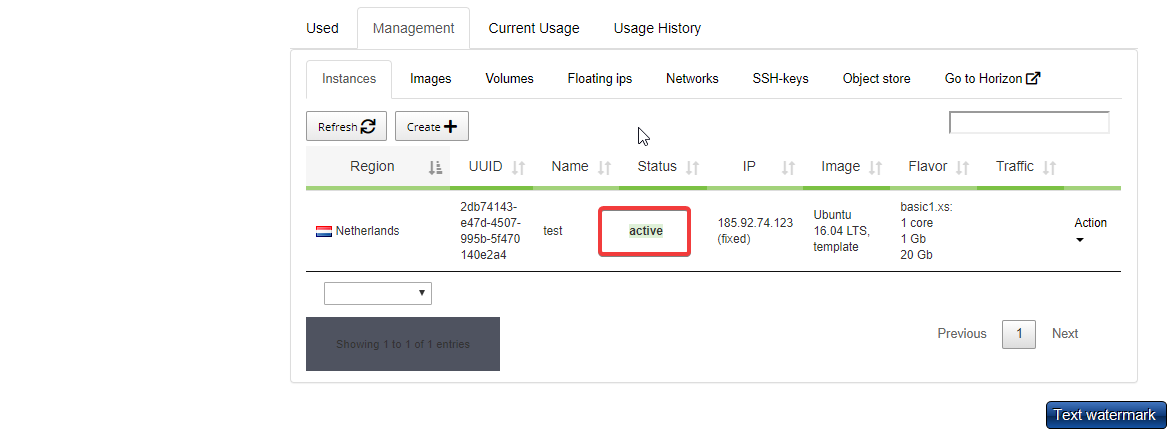
- As the server is created, it will appear in the table of servers with the status "building". After 15 seconds click on the "Update" button.
the server status should change to "Active".
- You can connect to the server using any SSH client, such as Putty.
Using the Control Panel is the easiest and fastest way to create a virtual server. For user convenience we have prepared ready-to-go configuration templates and operating system images. Due to this you do not have to be a system administrator to create your server in PublicCloud.
Professionals who prefer to use the command line and configure virtual infrastructure parameters by themselves are capable to create a server in the Horizon control panel or can use the command line.
Link to public-cloud