Before you begin to install Wordpress on your hosting account , make sure that you have all the necessary data to access it , or rather the server address , username and password to access the control panel of your hosting account (in this case ISPmanager).
The entire installation procedure is a few simple steps :
So, to install the CMS Wordpress You will need the source files of the engine , which I recommend to take the official site http://wordpress.org/.
Designed to simplify the installation procedure Wordpress use the control panel's ISPmanager.
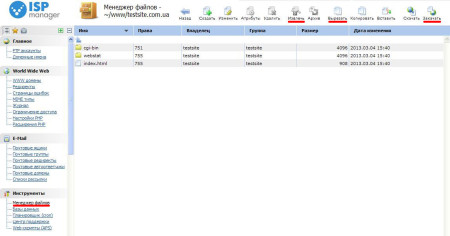
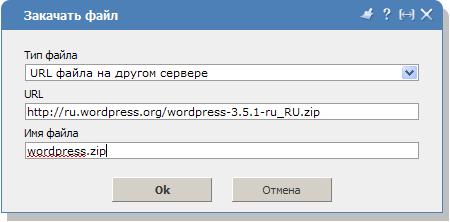
To do this, copy the link to the archive of Wordpress (naprmer: http://ru.wordpress.org/wordpress-3.5.1-ru_RU.zip), then in the "File Manager" go to the folder / www / vash_domen (double click a transition to a folder). Next, select the top right "Download"

Choose the file type "URL file on another server" in the "URL" field insert the previously copied link to the archive with CMS Wordpress. Pay attention to the "File name", which you will enter yourself in any form. Do not forget to include the file extension (in this case .zip), otherwise unpacking files will not be able to unzip your file.
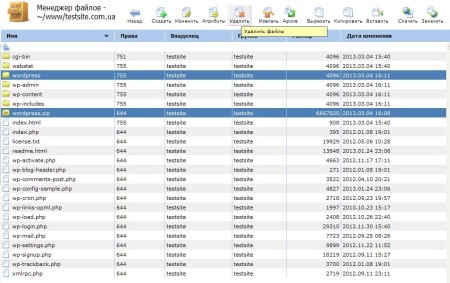
After you fill out all the necessary information, click "OK" and wait until the file is downloaded to your hosting account. If you did everything right then in the end you will see your uploaded file. Then highlight your file and choose from the menu above "Extract files in the current directory"
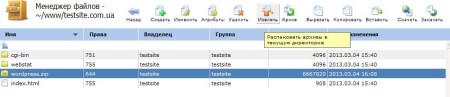
After that you will see a folder named with the same name as your file.
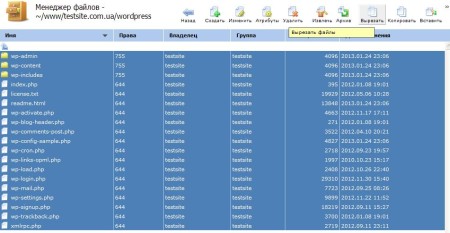
Next, you need all the contents of this folder to move to the root directory of your site, but rather in the folder ~ / www / imya_vashego_sayta /. To do this, you must go to the folder "Wordpress", cut out all the files and paste them into the correct directory. Select all the files in the folder "Wordpress", click "Cut files."
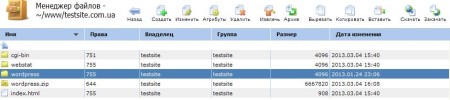
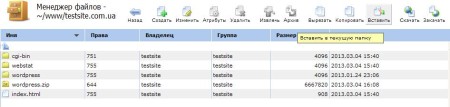
After that, go back to the root directory and insert our cut files.
Then you can remove unnecessary files and folders
At this stage, we have prepared all the necessary files to install and configure Wordpress CMS. Now you can begin to create a "Database".
So, in the "Tools" on the left, you will find the item "Database" by going to see him at the top right of the standard buttons (Create, Edit, Delete, etc.). Naturally choose the "Create" (if you have not created the database) and randomly fill the database name and polzdovatelya and password. Do not forget to save the data, they need you more.
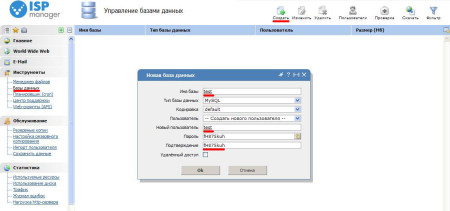
After filling click "OK". In the process of creating can be an error message in the form (user name is too long), cut and re-save. Do not worry if after you have clicked to create the database, you will see differences in the user name and the name of the base. This is due to the settings panel on the server, which automatically inserts the prefix in the form of the name of your web hosting account.

Database is created, files uploaded, you can proceed with the installation Wordpress.
Open a browser and enter the address of your website. If done correctly you will see a similar invitation to create a configuration file for Wordpress.
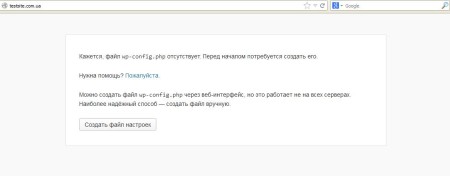
Choose "Create a configuration file."
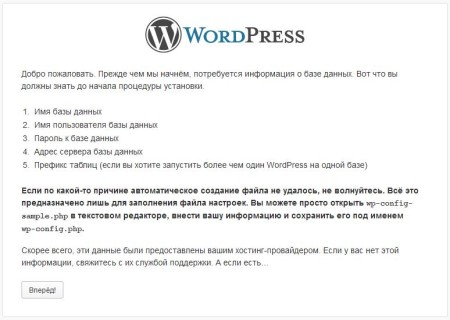
You will see the standard prompt before setting Wordpress. Click "Next" and fill in the data connection to the database we created above.
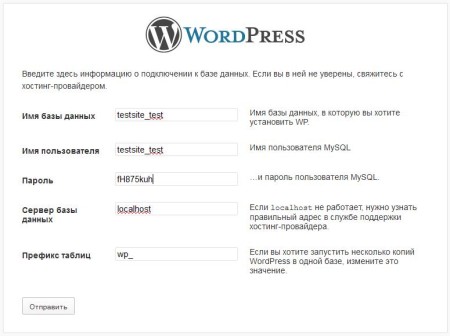
Very often the database server address looks like "localhost", which you leave unchanged.
After filling out the required fields, select "Send".
If the data connection to the database entered is true, Wordpress will show you a message that he checked the connection to the database and is ready for installation.

Click "Start Installation" and get a page where you will be asked to fill in the primary data about your future site (Site name, administrator password, your mailbox).
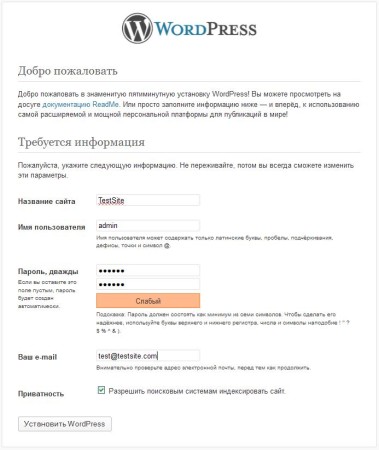
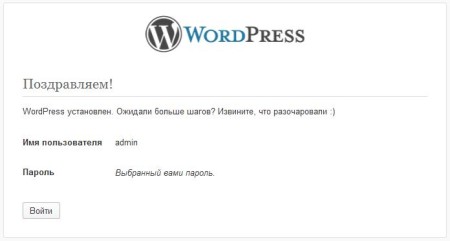
Well, that got to the final stage of installing Wordpress -> Click "Install WordPress", and then see the joyful message and a further proposal to move to the administrative part of your site.